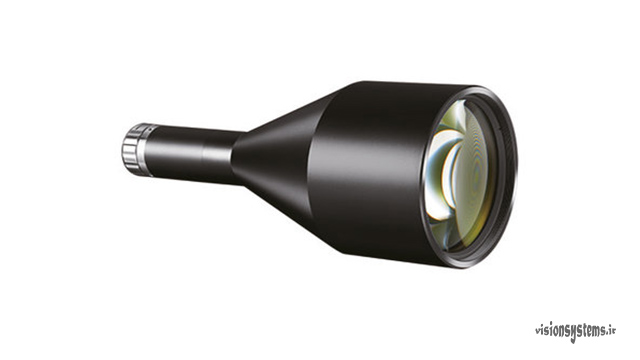
To design a vision system, in the first step, you must specify the type of camera and then choose the appropriate lens. When choosing a lens, you should pay attention to parameters such as working distance, lens aperture, resolution, etc. You can easily do this in Basler industrial cameras. For this, it is enough to enter the site Basler and use the tools provided by this site.
1- access to the lens selection page
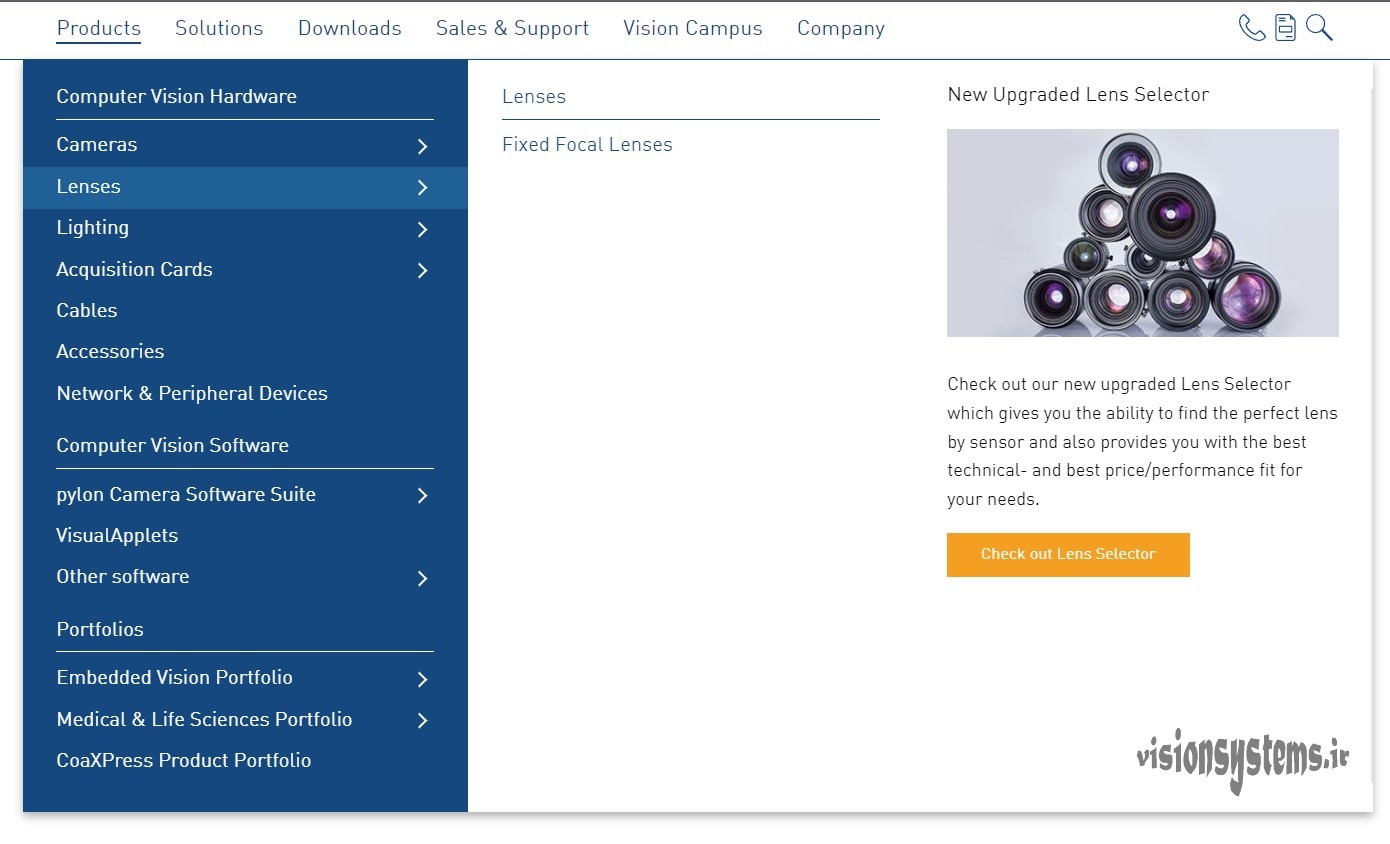
Enter Basler website and click on the check out lens selector button from the product header, lenses category. You can also click here to enter the lens selection page.
2- Selecting the Basler camera model
In this step, we select the Basler camera series and model. As an example, here we choose Basler camera model ace640-300gm, whose series is ace (the first three digits of the camera code). In the first box, we select the series equal to ace and in the second box, we select the said camera model. Click here for more information about Basler camera series and models.
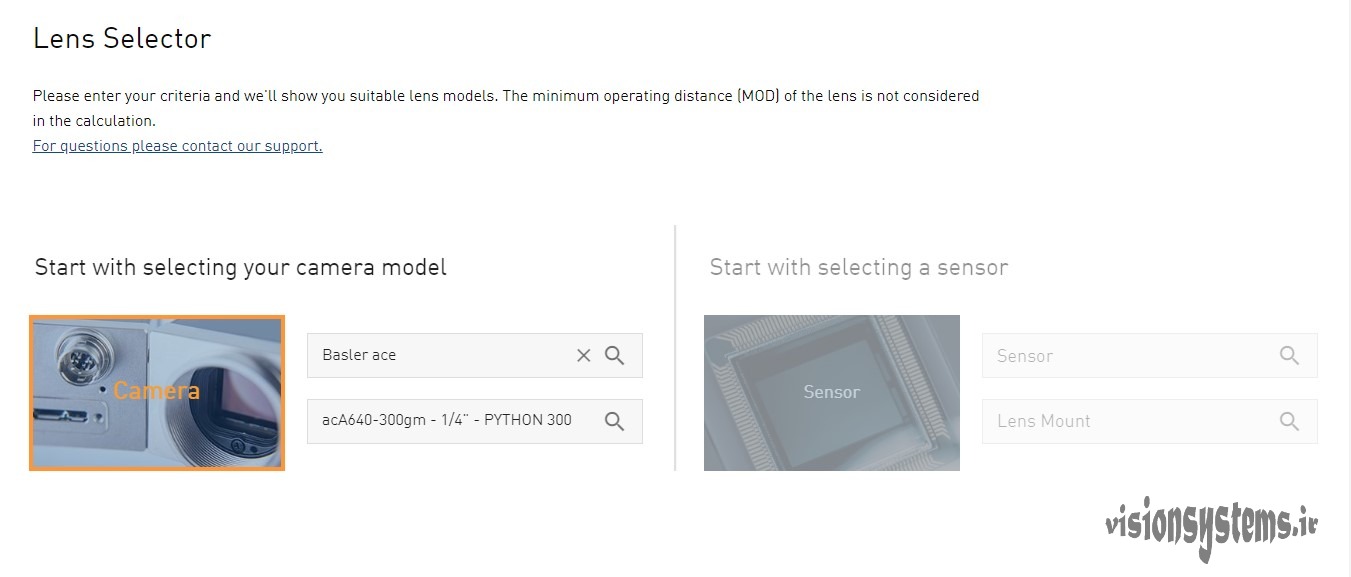
3- Determining the field of view of the lens
In this step, we must specify the length and width of the rectangle we want to see. This is our field of view, which is called Field of View and it is called FOV for short. Be careful that the camera image is generally rectangular (one side of the image is bigger than the other side) and it is enough to specify only one side of this rectangle so that the other side is automatically specified according to the selected camera.
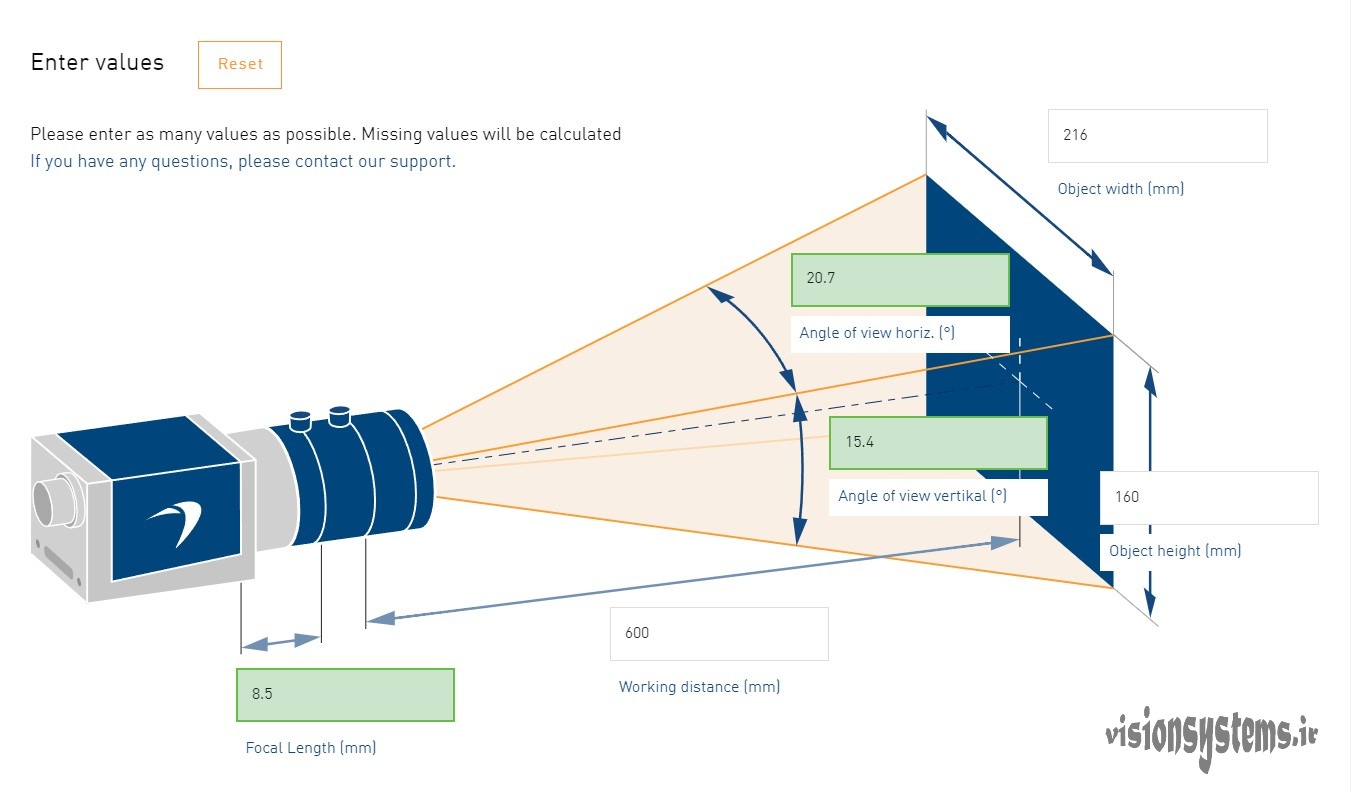
Suppose the viewing space we need is equal to 16 x 20 cm; In this case, it is enough to enter the larger side of the image in millimeters in the object width box in the image below.
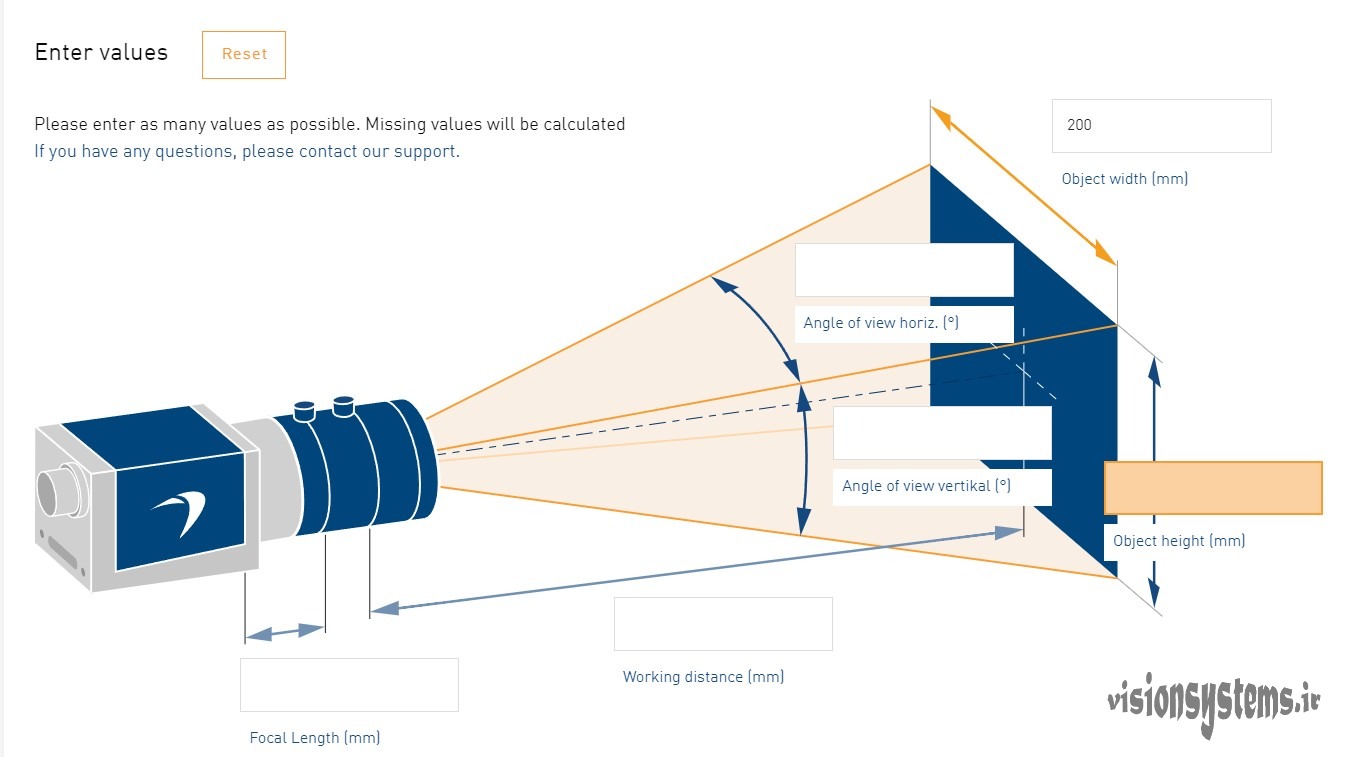
After entering the number of 200 mm, click in an empty place of the screen so that the width of the image that the camera can see is determined automatically. As you can see in the image below, the smaller side of the image sees 148 mm, while our field of view on the smaller side should be equal to 160 mm.
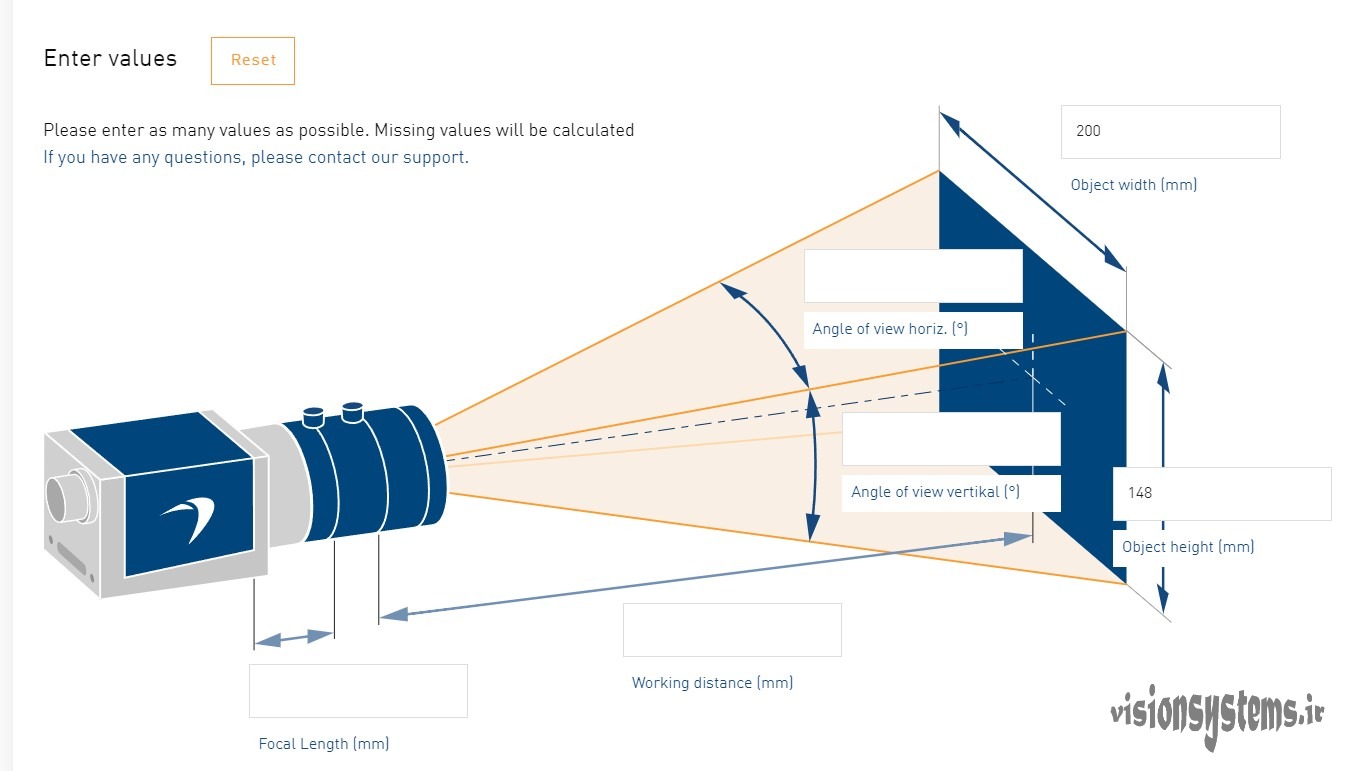
We click on the Reset button in the upper right corner of the image to determine the length and width of the image again. This time, we select the smaller side of the image (Object height in the image below) equal to 160 mm; In this case, the field of view of the camera will be equal to a rectangle with dimensions of 216*160, which is suitable for us.
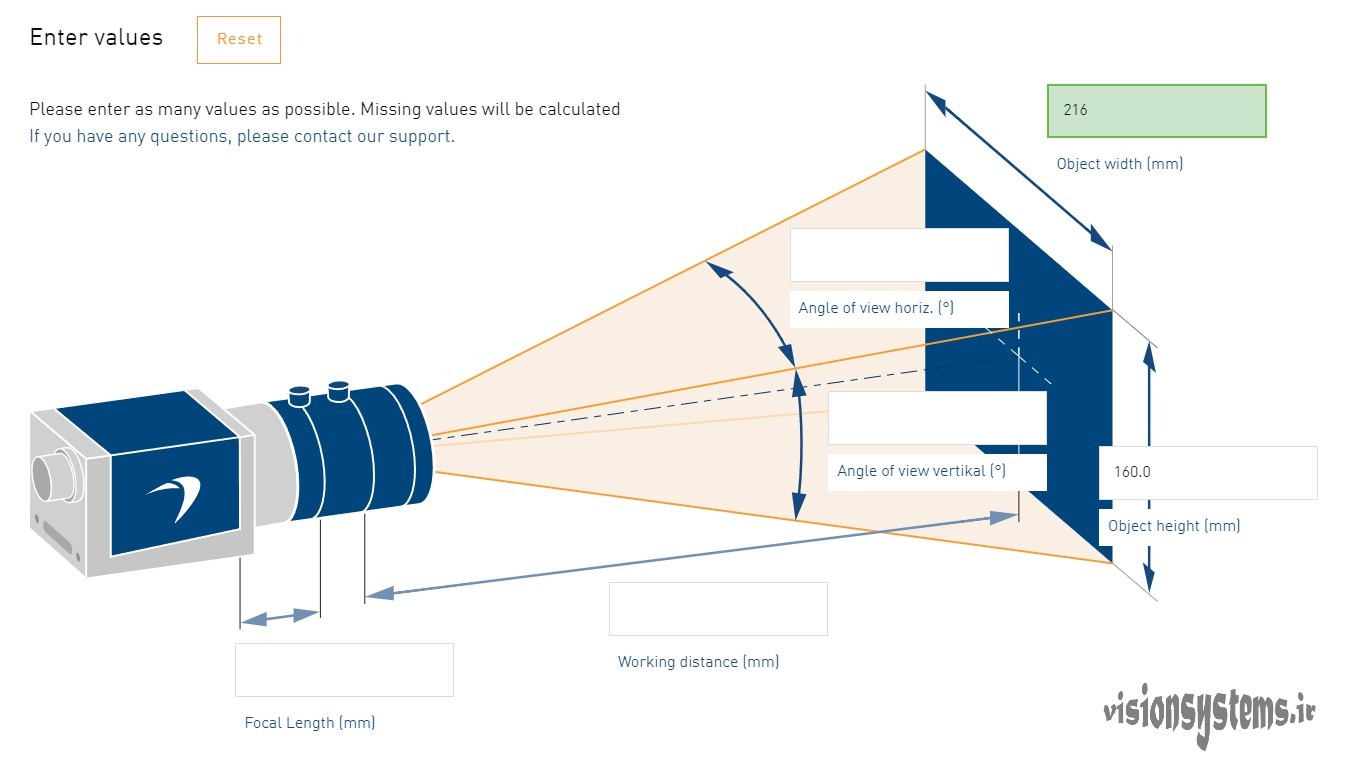
4- Determining the working distance
working distance means the distance between the lens and the object. As a general rule, this distance should be between 2 and 4 times the length of our visual space. So the optimal working distance (considering the larger side of the image equal to 20 cm) will be equal to 40 to 80 cm. Although the presence of some mechanical limitations may make us have to reduce the working distance.
Here, we select the working distance equal to 60 cm and enter its number in millimeters in the Working Distance box as shown in the image below. Then, by clicking on a desired point on the screen, the focal length of the lens will be calculated. The value of this number is equal to 8.5 mm.
5- Lens selection
To select the lens from the bottom right corner of the image, click on the “go to matching lenses” option.
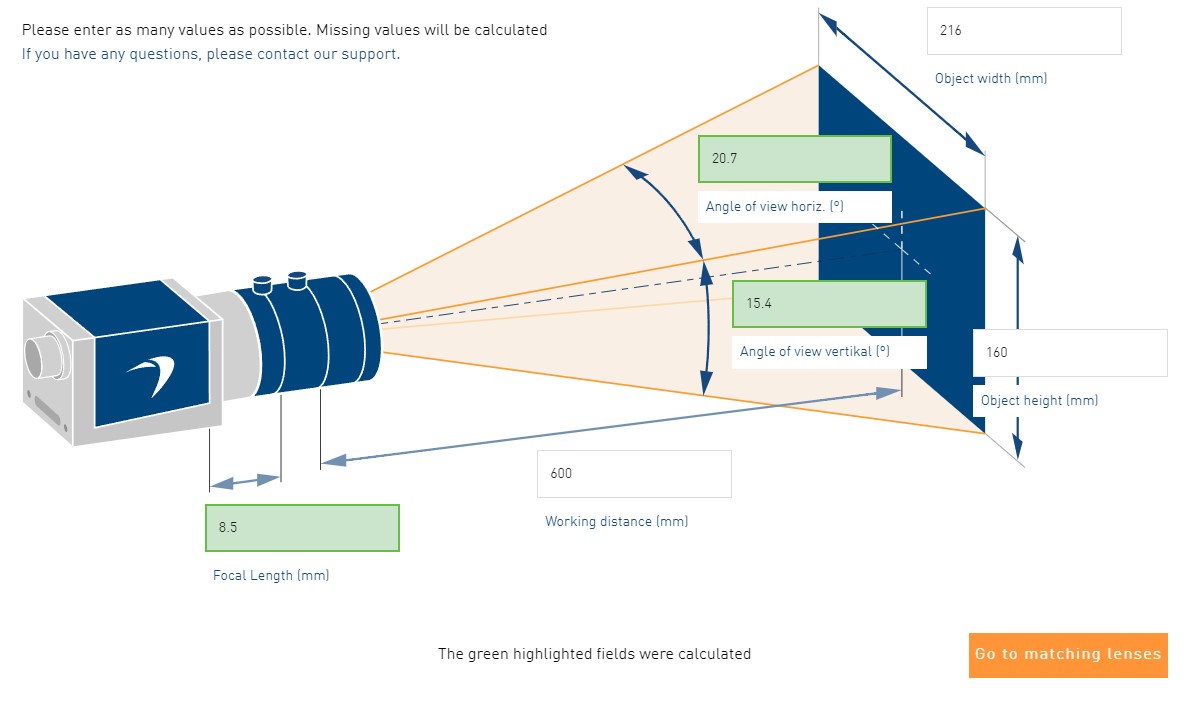
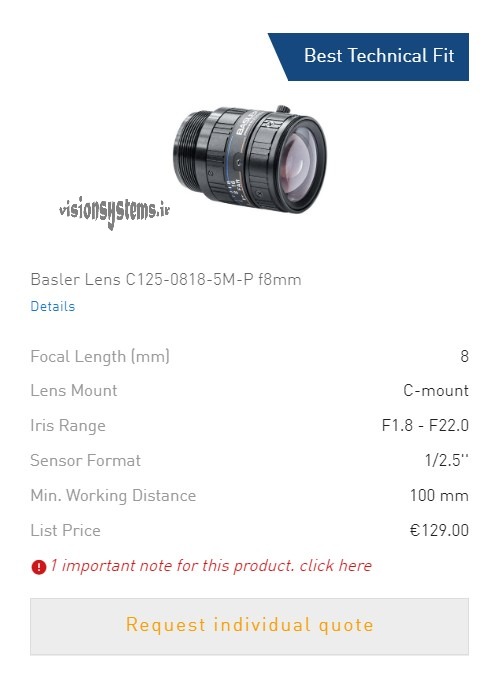
Here are 6 lenses that can be usedd. On the top of the first lens, the words “Best Technical Fit” and on the top of the second lens, the words “Best-Price/Performance” are written, which we will explain about them later.
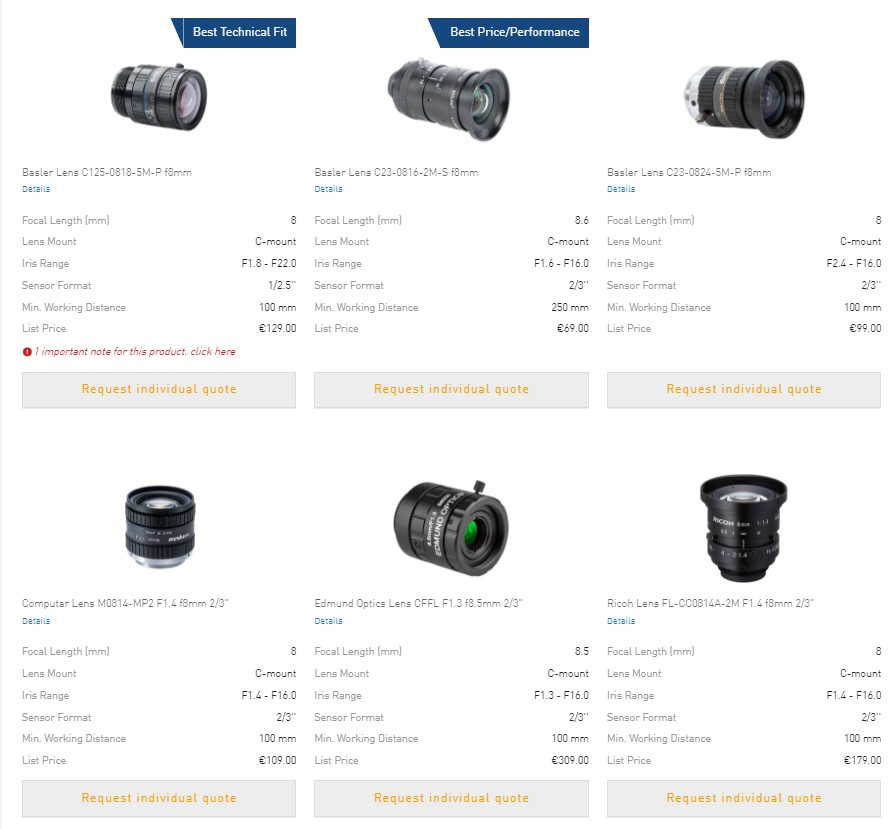
Technically the best lens
The best lens from a technical point of view is introduced with the phrase “Best Technical Fit”; In the sense that this lens has a suitable performance for the camera and working distance from a technical point of view. The focal length of this lens is 8 mm and its resolution is 5 megapixels. The price of this lens is 129 euros.
The best lens in terms of economy
The best lens economically is marked with the phrase “Best-Price/Performance”. This lens is the cheapest lens that can be considered for this project. The focal length of this lens is 8.6 mm and its resolution is 2 megapixels. The price of this lens is 69 euros.
Analysis of results
To determine the lens from the two choices above, we must check depending on the object we want. As an example, we can choose a cheap lens to identify the barcode. But in projects such as identifying the exact position of industrial parts, where accuracy is important to us, we choose the best lens from a technical point of view.
Recalculation of working distance
After choosing the desired lens, we have to recalculate the working distance, in fact our distance of 60 cm has changed slightly. To recalculate the working distance, it is enough to determine the dimensions of the field of view as before and this time set the number of the lens equal to the selected number.
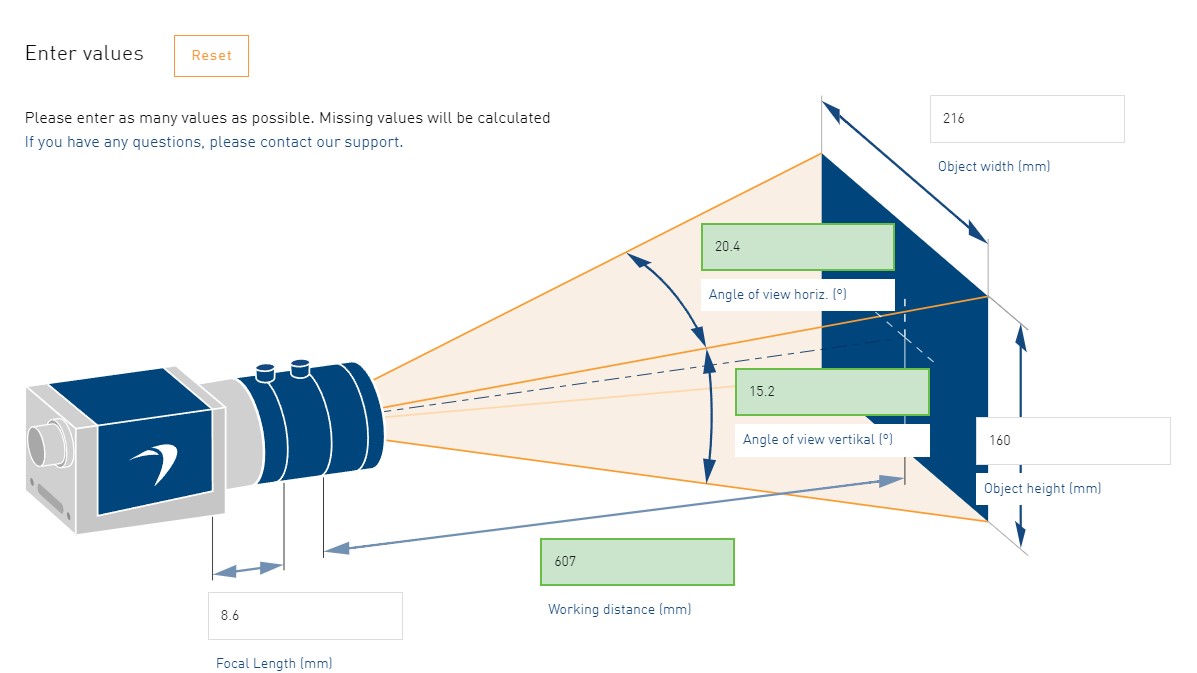
Let’s say we have determined the best economic lens, whose focal length is 8.6 mm. In this case, we must reset the parameters again with the top right button of the image; Then determine the dimensions of the image as before and finally set the focal length of the lens equal to 8.6. In this way, the working distance will be equal to 607 mm.
More information on lens selection
In this article, we have taught how to choose a normal lens for a Basler camera.
In some projects, we need other types of machine vision lenses such as telecentric lenses, in this case we cannot use the solution taught in this article.
In machine vision training course with Halcon software we teach you how to do different projects such as dimensional measurement, identification Analyze the position, quality control of products, etc. and choose the camera, lens, computer and other equipment needed for the project.
related content

